To create or edit a section, hover over the Templates menu item, and choose Sections/View Sections.
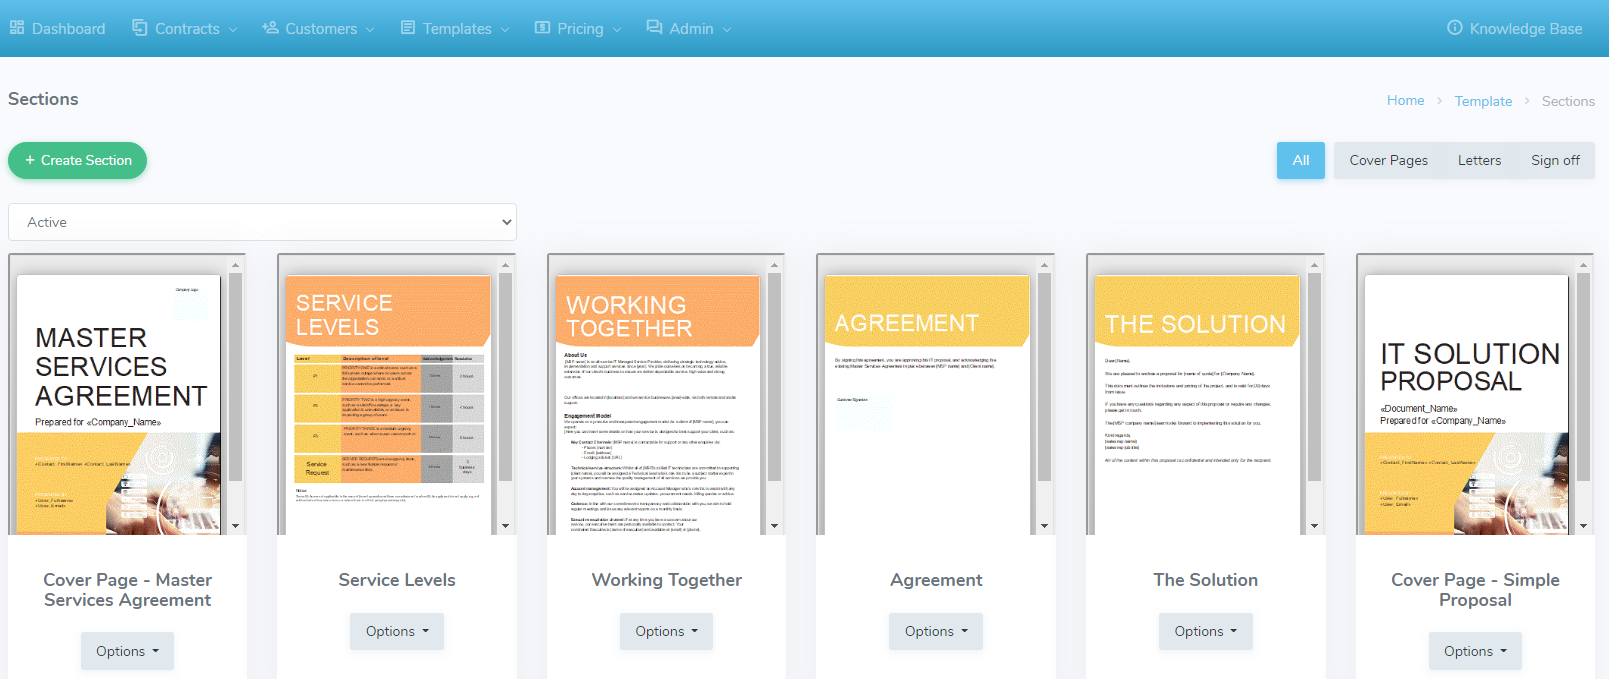
Sections are pieces of reusable content, for example cover pages, terms and conditions, or standardized texts (i.e. Working Together). These are the building blocks of your templates.
By default you will see the sections that comprise the two default templates that come with your account. Clicking on the blue Options drop-down under each section will allow you to either:
- Edit the section
- Copy the section
- Archive the section, or
- Delete the section
If you wish to create a new section, click the green Create Section button in the top left.
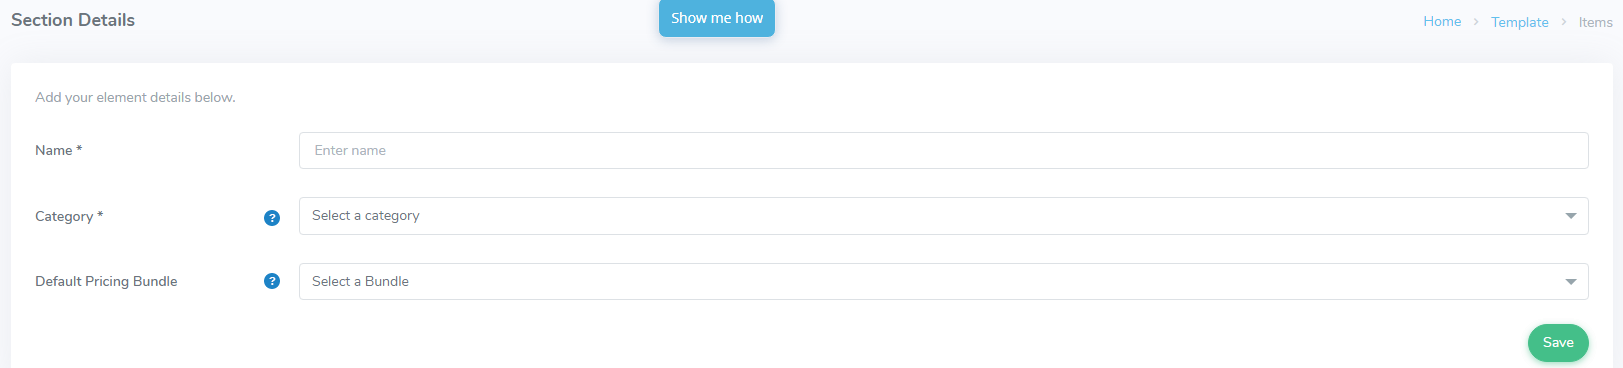
Give your section a name (for example, Cover page without image), and select the category that you want the section to fall into, for example, Cover Pages. You can add or edit section categories at any time. Learn how to here.
You can also choose a pricing bundle for this section (which is optional).
Click the green Save button when you are ready. A new button will appear in blue called Edit Content.
This will take you to the Section editor - which looks and acts very similar to a Word Document.
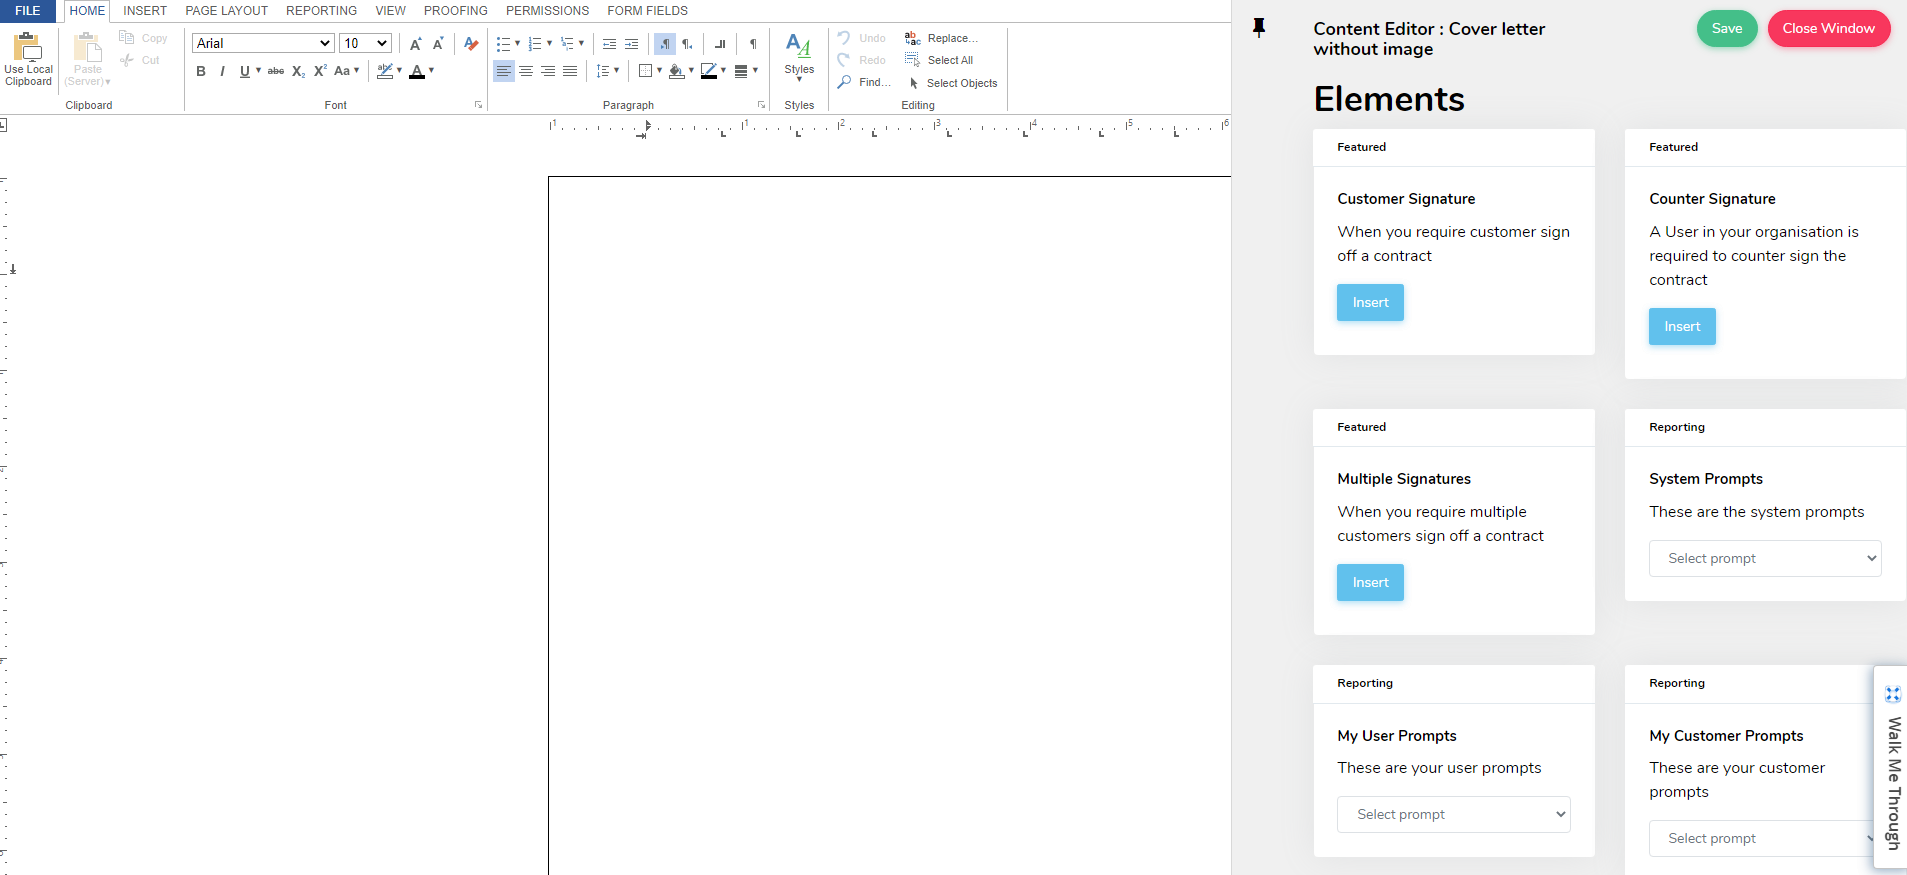
To the right of the screen will be the Content Editor helper, where you can input featured elements such as your signature, or other prompts. (Learn more about Prompts here).
Clicking on the black pin icon on the helper window will close it until you click on it again.
You can insert whole sections from PDF or image or Excel (eg a pricing table), or copy and paste from an existing document.
When you are ready, click the green Save button on the right-hand side editor helper window. Then click the red Close Window button.
You will return to the Sections page. Your new section will be in the list ready for you to use. You can click on the Options button below it and choose Edit in order to change any of the content.
For a recap on the above, click and watch the video below.